

Quick answer
Yes, modern AI models can plan a simple electronics gadget for you: the parts list, wiring, code and a 3D-printable case. The trick is to describe the gadget clearly, ask for a beginner-friendly board and USB power, request each piece (spec, parts, pin map, firmware, STL files, assembly manual) and then check the plan against the real parts’ datasheets before you buy anything. Matt Wolfe did exactly this in his first test of Claude Fable 5.2, and got a full build pack in minutes.
Key takeaways
- Keep it small and low-voltage: a microcontroller board, a little screen, a few buttons and USB power.
- Ask for everything in one brief, then follow up for an illustrated assembly manual.
- Check every pin and part against the maker’s documentation before ordering.
- Test on the bench before you close the case.
- Avoid mains power and loose lithium cells until you know what you are doing.
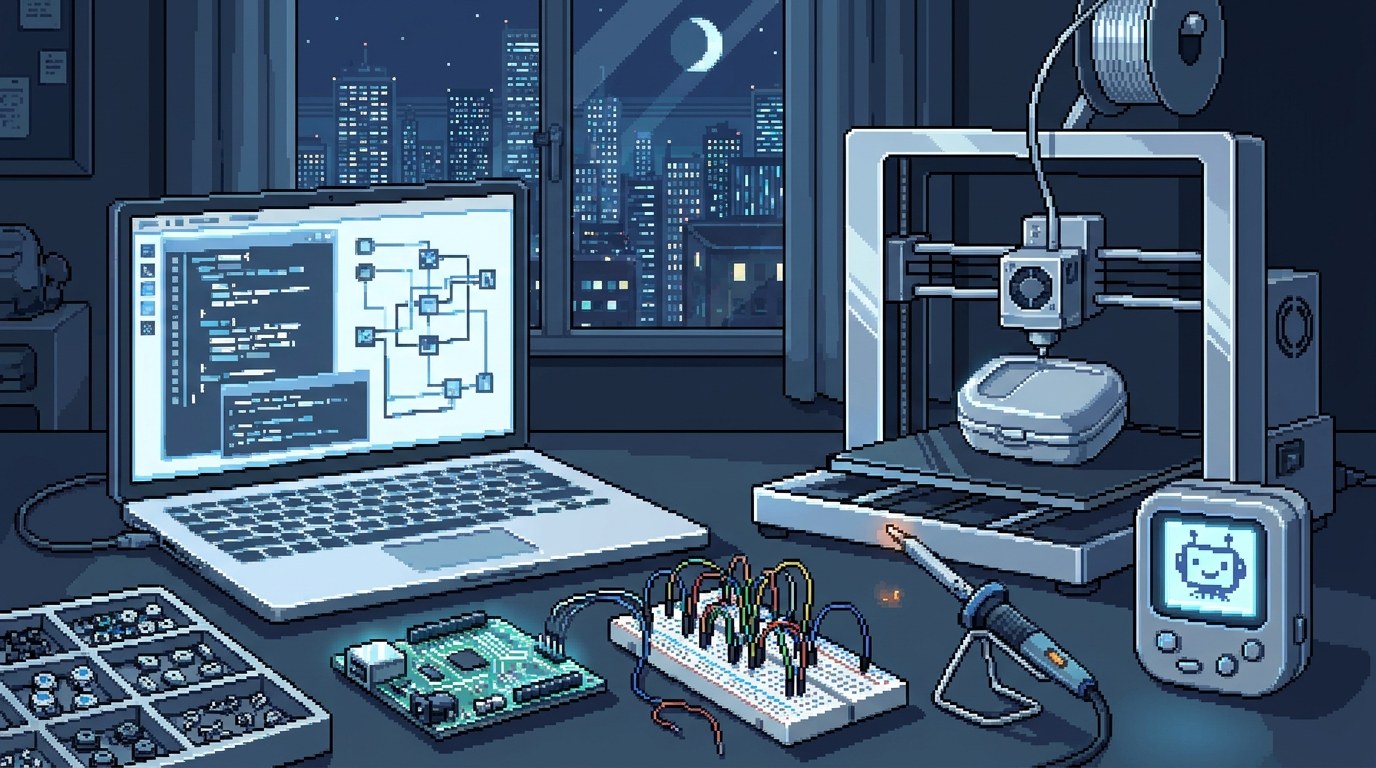
In our Claude Fable 5.2 review, one of the most interesting tests was Matt Wolfe asking the new model to design a real handheld gadget: a little character on a screen that reacts when you press buttons. It came back with a spec, a parts list built around a Raspberry Pi Pico H, firmware code, four STL files for 3D printing and a wiring guide. This guide answers one question: how can you use AI to plan your own simple electronics gadget, safely and without wasting money on the wrong parts?
📘 Main article: This guide follows on from our Claude Fable 5.2 review, where Matt Wolfe tested the model on a real hardware project. Read it to see what the model produced and how it compares with Opus 5.5.
In this guide
- Can AI really design an electronics gadget?
- What do I need before I start?
- Step 1: Describe the gadget in plain English
- Step 2: Ask for a spec and parts list
- Step 3: Get the wiring plan and firmware
- Step 4: Get a 3D-printable case
- Step 5: Ask for an assembly manual
- How do I check the AI’s plan before buying parts?
- What safety rules should I follow?
- Frequently asked questions
- The bottom line
- Related posts
Can AI really design an electronics gadget?
It can produce a solid first plan, but you still need to check it and build it. Anthropic says Fable 5.2 is especially strong at hardware engineering, and showed it designing three devices with their own circuit boards and cases. Those are hand-picked demos. Matt’s own result was a complete build pack that looked sensible, but he had not built it yet when he published his video.
You do not need the most expensive model for a simple project. Opus 5.5 or another strong model can plan a beginner gadget well. A top model like Fable 5.2 helps most when the design is complex. See which Claude model to use if you are unsure.
What do I need before I start?
- An AI chat with file downloads, such as Claude on a paid plan or a similar assistant that can create code and files.
- A clear idea of what your gadget should do, in one or two sentences.
- A small budget for parts. A beginner board, screen, buttons and wires are usually inexpensive, but check current prices.
- Access to a 3D printer, or a local library, makerspace or online print service.
- Basic tools: a USB data cable, small screwdrivers and, if needed, a soldering iron. Many beginner parts come with pin headers so you can use jumper wires instead of soldering.
Step 1: Describe the gadget in plain English
Write what the gadget does, who it is for and where it will live. Keep it to one job. Good examples:
- A desk counter that shows how many days are left until a deadline.
- A tiny virtual pet that reacts when you press a button.
- A timer that lights up after 25 minutes for focused work.
💡 Tip: Use an original character or design. Matt’s AI refused to draw a real person’s likeness and created an original robot instead. Original designs also avoid copyright problems if you ever share or sell your project.
Step 2: Ask for a spec and parts list
Ask for a short spec plus a parts list built from common, off-the-shelf parts. Here is a prompt you can adapt:
“Design a small handheld desk gadget that [what it does]. Write a short spec. Pick real, off-the-shelf parts I can buy from a mainstream UK retailer, built around a Raspberry Pi Pico or similar beginner-friendly board, running on USB power. Show the full parts list with quantities and rough prices. Then write the firmware code, give me a pin map and wiring plan, design a simple case as STL files I can 3D print, and walk me through building and testing it step by step. Ask me any questions before you start.”
Ask it to put the parts list in a table with the part name, quantity, why it is needed and a rough price. Matt’s list included the board, a small display, buttons, jumper wires, screws, a micro USB data cable, heat-shrink tubing and double-sided foam tape. That is the level of detail you want.
⚠️ Warning: AI can suggest parts that are discontinued, the wrong size or not sold in the UK. Search for each part yourself and confirm the exact model before ordering.
Step 3: Get the wiring plan and firmware
Ask for a pin map (which wire goes to which pin) and the firmware code, with a simple test first. Useful follow-up prompts:
- “Give me a pin map as a table: part, part pin, board pin.”
- “Write a tiny test program that only lights the screen and reads one button, so I can check the wiring before the full code.”
- “Explain how to put the firmware on the board, step by step, for a complete beginner.”
For a Raspberry Pi Pico, the AI will often suggest MicroPython, which is beginner-friendly. Matt’s pack included Python scripts and step-by-step flashing instructions.
Step 4: Get a 3D-printable case
Ask for the case as STL files, split into parts that print without supports if possible. STL is the standard file type for 3D printing. Open the files in your printer’s slicer software, as Matt did with Bambu Studio, to check the shape and size before printing.
- Ask for the case dimensions to be based on the exact parts you are buying.
- Ask for a little clearance (around 0.2 to 0.3 mm) so parts are not too tight.
- Print a small test piece first, such as the screen frame, before printing the whole case.
Curious how this compares across models? Our Claude Fable 5.2 review shows what Matt’s gadget pack looked like and where Fable 5.2 beat or trailed Opus 5.5.
Step 5: Ask for an assembly manual
Ask for an illustrated, numbered build guide. Matt’s first pack had good files but thin building instructions, so he asked: “Create an assembly manual with images of exactly how to put this together,” and raised the effort to high. It took about 15 minutes and produced a step-by-step manual covering printing, flashing the firmware, wiring, a pin map, a bench test and fitting the buttons.
A good assembly manual should include:
- What to print and in which order.
- How to flash and test the firmware.
- Wiring, one connection at a time.
- A bench test with everything outside the case.
- Final assembly and what to do if something does not work.
How do I check the AI’s plan before buying parts?
Treat the AI’s plan as a draft from a clever helper who has never seen the real parts. Before you spend money:
- Check every part’s datasheet or product page for voltage (3.3V or 5V), pin labels and size.
- Compare the pin map with the board’s official pinout diagram. Mistakes here are the most common cause of “it doesn’t work”.
- Ask the AI to double-check itself: “Review this design for voltage mismatches, wrong pins or parts that will not fit. List any risks.”
- Search for an existing beginner tutorial using the same screen and board. If others have done it, you are on safe ground.
- Start with the cheapest version on a breadboard before buying extras.
What safety rules should I follow?
⚠️ Warning: Stick to low-voltage, USB-powered projects as a beginner. Never let an AI talk you into working with mains electricity. If you add a rechargeable lithium battery, use a ready-made battery module with built-in protection and follow the maker’s instructions.
- Unplug the board before changing any wiring.
- Use a proper USB power source, not a homemade one.
- Ventilate the room when soldering and keep the iron on its stand.
- Keep small parts and batteries away from children and pets.
- If anything gets hot, smells or smokes, unplug it straight away.
Frequently asked questions
Which AI is best for designing electronics?
Anthropic says Claude Fable 5.2 is especially strong at hardware design, but for simple beginner projects Opus 5.5 or another strong model is usually enough. What matters most is a clear brief and careful checking.
Do I need to know how to code?
No. Ask the AI to write the code and explain how to load it in beginner-friendly steps. You will learn a lot by asking it to explain each part.
Do I need my own 3D printer?
No. Many libraries and makerspaces have printers, and online services will print STL files for you.
What if the AI suggests parts I cannot find?
Ask it for UK-available alternatives, or tell it exactly which parts you already have and ask it to redesign around them.
Can I sell a gadget I designed with AI?
Possibly, but selling electronics involves safety and product rules. Get proper advice before selling anything, and use original designs rather than copying existing characters or brands.
The bottom line
AI can turn a one-paragraph idea into a full gadget plan: parts, wiring, code, a 3D-printable case and an assembly manual. Your job is to keep the project small and low-voltage, check the plan against the real parts, and test on the bench before you build. For the full story of the model behind Matt Wolfe’s test, read our Claude Fable 5.2 review.
Related posts
- Claude Fable 5.2 Review: Is It Really the World’s Best AI Model?
- How to Build an Original Game With an AI Coding Agent (Without Copying One)
- Editing Video With Claude: Matt Wolfe’s Short-Form Workflow
